How to Create Your First Web Page on WordPress
You’ve finally taken the plunge, selected a domain name, purchased a WordPress optimized hosting package, and are ready to start your WordPress site. Congratulations! It’s going to be awesome.
Now that you’ve celebrated your new blog or business venture, you may be wondering what to do next. Don’t worry. This short guide will walk you through how to create your first web page on WordPress step by step.
Choose a Theme
At GreenHost.eu, we simplify your life by automatically installing WordPress on all shared and hosting accounts. This means your first order of business, is to choose a theme. A theme is a pre-designed template that tells WordPress what your site will look like. In other words, rather than having to code your whole website, you can choose a theme you like and then customize the elements.
To select a theme:
- Log in to your WordPress dashboard with your username and password. For example: http://whateveryourdomainnameis.com/wp-admin
- Turn your attention to the sidebar on your dashboard and find “Appearance” and then select “Themes.”
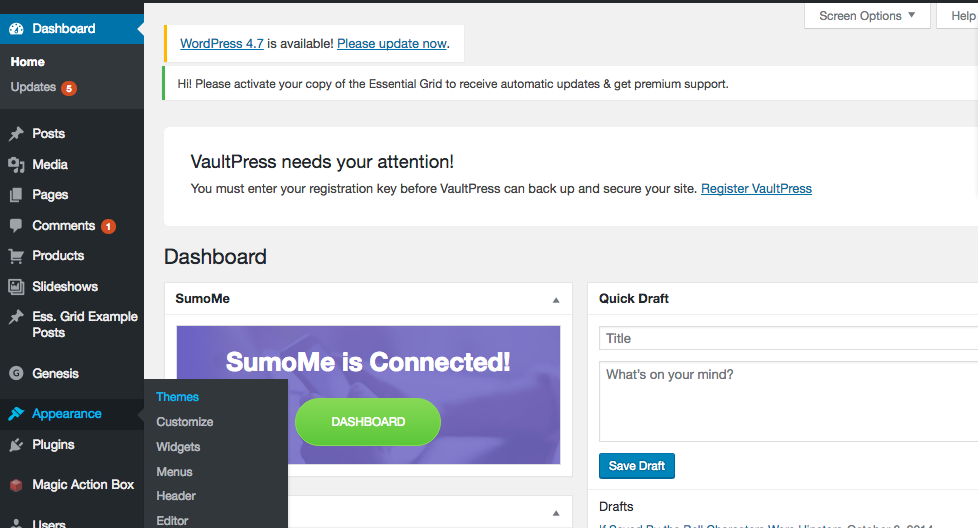
- From here you can either select a free theme or install a premium theme that you’ve purchased by clicking “Add New” and then “Upload Theme.”
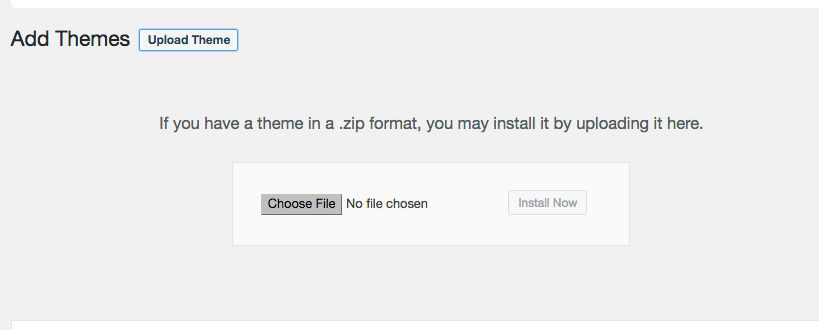
- Simply select the .zip file you downloaded when you purchased your theme and click “Install Now.”
- Finally, you will click “Activate” theme.
Once your theme is activated, your website will actually start to look like a website! But to really be a website, it’s going to need great content. And that means you’ll need to create your first web page on WordPress.
How to Create Your First Web Page on Word Press
Now that you have a theme, it’s time to create your pages. For example, you may want an “About” page, a “Testimonials” page, a “Services” page, or a “Contact” page, depending on the goals of your website. You can create these pages through the “Pages” WordPress feature. Here’s how to do it.
- Turn your attention to the sidebar and locate “Pages.”
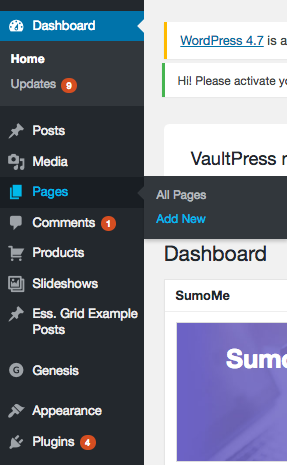
- Click “Add New.”
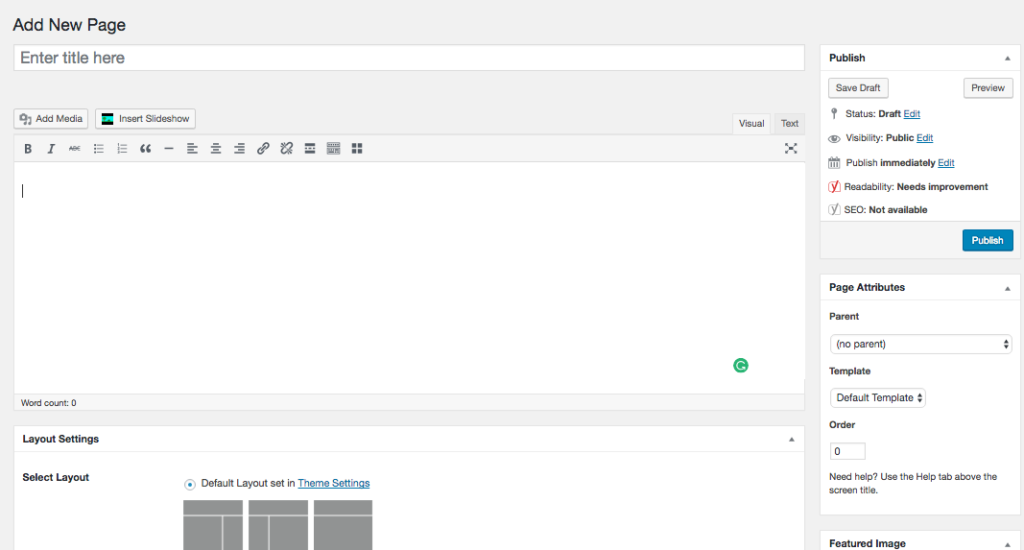
- Once you have selected “Add New,” you’ll notice you can enter a title and customize the content. You can add a title to your page, such as “About Me” or “Services.” Then you can write your content, add images, and even select the layout for your page.
- Once you are ready to publish your page, find the “Publish” button on the right side of your screen. As soon as you click the blue button, your new page will go live. Remember, since you have selected a theme, WordPress will automatically import your page into the design you selected. This means you don’t have to know any coding.
How to Add a Page to a Menu
After you have created all of your pages, you’ll want to organize them. After all, you want your website visitors to be able to easily navigate your website.
To organize your pages, you’ll want to add them to one of your navigation menus. You can do this through the “Appearance” tab on the sidebar. Here is how.
- Find “Appearance” on the sidebar and click “Menus.”

- Find the pages you created under the “Pages” widget.
- You can add any of the pages to your menu by clicking the checkbox next to the title of your page and then clicking “Add to Menu.”

- Once you have selected the pages you want to add, you can arrange them in the way you want them to appear on your menu. Do this by dragging and dropping each menu item where you would like them to appear.
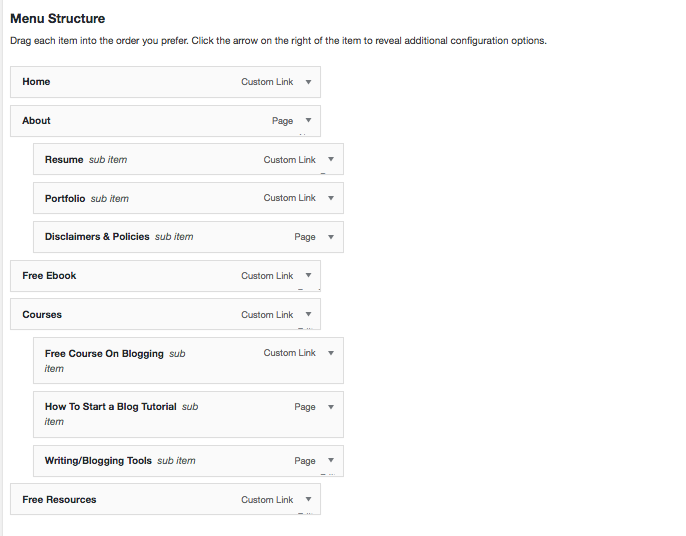
In the example above, each main menu page is flushed left and each sub-page under the main page is indented. You can organize your pages however you would like. Note: You can also update edit menus from the admin or customizer.
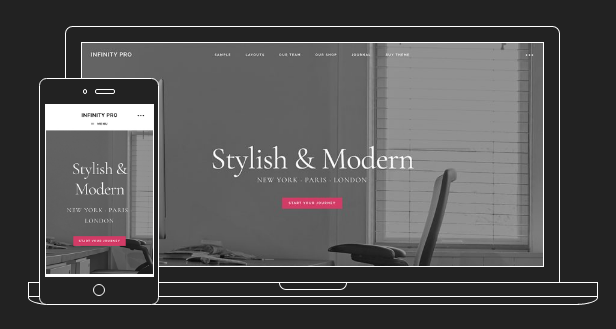
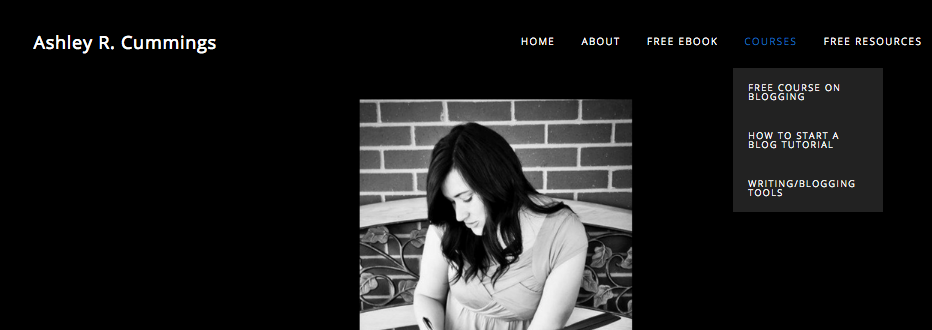
To give you a better idea of the final product, here is how a WordPress menu looks all dressed up in a theme.
And there you have it! That’s how you create your first web page on WordPress and then organize it with a menu.